Roof Eave Guide 2025: Powerful Tips Every Homeowner Must Know
Roof Eave Advantages: Why Your Home Needs It
A roof eave is one of the most overlooked parts of a home’s roofing system, yet it plays a crucial role in keeping the structure protected from water, wind, and weather damage. Many homeowners only notice the importance of proper eave design when facing issues such as water infiltration, peeling siding, or foundation deterioration. This guide provides a detailed, professional, and SEO-optimized explanation of what eaves are, how they are built, how much they cost, and why they matter for the long-term performance of a house.
What Is a Roof Eave?
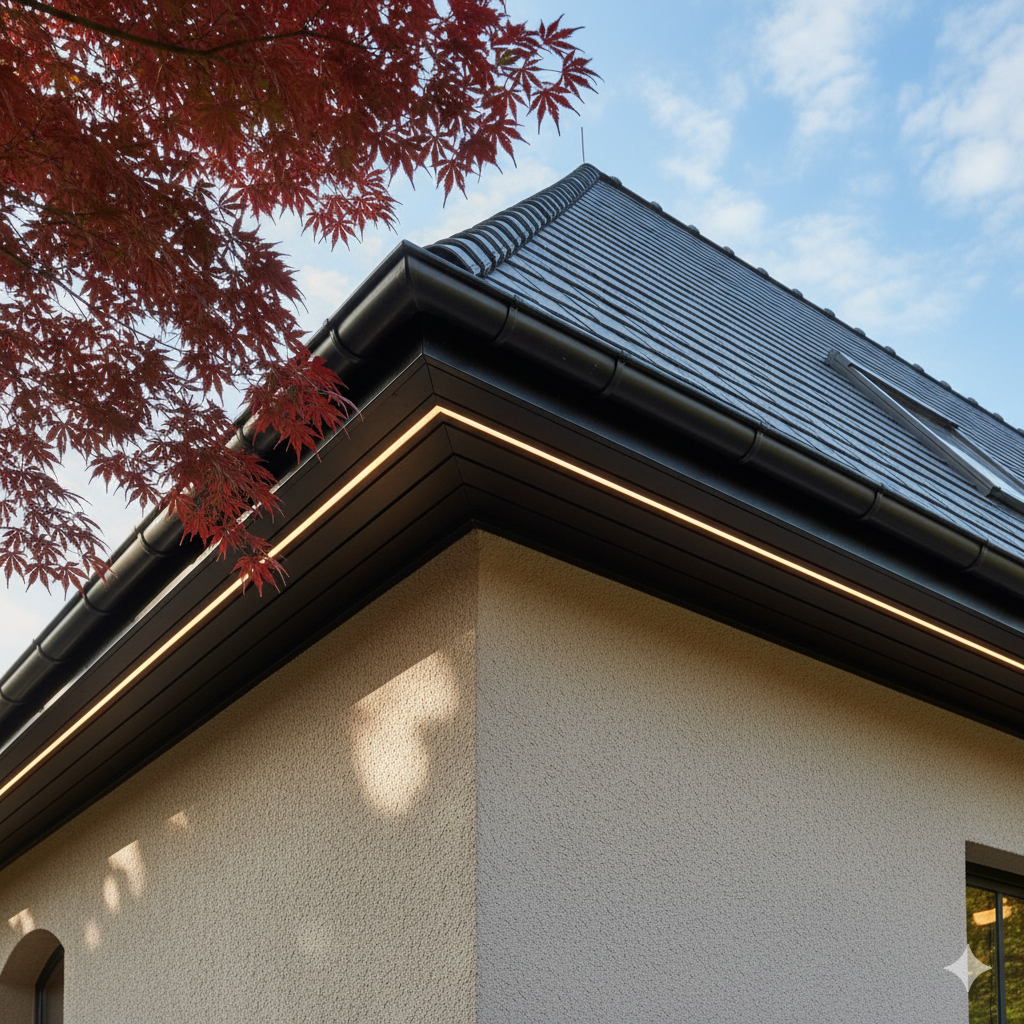
A roof eave refers to the edge of the roof that projects beyond the exterior walls of a building. This overhanging section directs water runoff away from the walls and foundation, improving drainage and preventing moisture damage. Eaves can be open, closed, ventilated, decorative, or functional depending on the architectural style and climate.
Short definition:
It’s the protective edge where the roof extends outward to shield the structure below.
Detailed Roof Eave Functions and Components
To understand the complexity behind an eave, it’s helpful to break down its main parts:
1. Fascia Board
The vertical board at the end of the rafters supporting gutters.
2. Soffit Panel
The underside of the eave that provides ventilation and protection from pests.
3. Rafter Tails
Wooden extensions that form the eave structure.
4. Drip Edge
A metal flashing directing water away from the fascia.
Each element works together to ensure proper airflow, drainage, and aesthetic appeal.
How to Install a Roof Eave
Installing an eave requires attention to detail, correct materials, and knowledge of local building codes. Here are the simplified steps:
- Step 1: Measure and Cut Rafter Tails
- Rafter tails determine the length of the eave projection, typically between 12 and 24 inches.
- Step 2: Install Fascia Boards
- Attach securely to the rafters, ensuring proper alignment for gutter placement.
- Step 3: Add Soffit Panels
- Use vented or solid panels depending on the attic ventilation requirements.
- Step 4: Apply Drip Edge Flashing
- Install along the edges to prevent water intrusion.
- Step 5: Seal, Paint, and Inspect
- Finish with protective coatings and check for smooth airflow.

How Much Does a Roof Eave Cost?
Costs vary depending on materials, labor, and house type.
Average cost breakdown:
| Component | Price Range |
|---|---|
| Fascia boards | $8–$20 per linear foot |
| Soffit panels | $6–$25 per linear foot |
| Drip edge | $1–$3 per linear foot |
| Labor | $35–$75 per hour |
Total estimated cost:
$1,800 to $6,500 for a full home installation.
How Long Does a Roof Eave Last?
Eave lifespan depends on the material:
- Wood: 20–30 years
- Vinyl: 40+ years
- Aluminum: 50 years or more
- Fiber cement: 30–50 years
Regular maintenance extends durability significantly.
Advantages of a Roof Eave
✔ Protects siding and walls
Prevents rainwater from causing rot, mold, and stains.
✔ Guards the foundation
Directs runoff away from the base of the home.
✔ Improves attic ventilation
Vented soffits help regulate indoor temperatures.
✔ Enhances home aesthetics
Creates clean roof lines and architectural appeal.
✔ Reduces energy costs
Keeps sunlight away from exterior walls, improving insulation efficiency.
Challenges Connected to Roof Eave
✖ Risk of pest intrusion
Birds, insects, and squirrels may nest in poorly sealed eaves.
✖ Requires regular maintenance
Peeling paint, clogged vents, and rotten boards are common issues.
✖ Susceptible to weather damage
Strong wind, snow, or ice can weaken the structure.
✖ Installation complexity
Incorrect installation can lead to major water infiltration problems.
Roof Eave Maintenance Tips
- Clean soffit vents annually
- Repaint wood components every 3–5 years
- Remove nests or debris immediately
- Inspect for leaks after every storm
- Install gutter guards for protection
FAQ About Roof Eave
- 1. What is the purpose of a roof eave?
- Its main function is to shield walls and foundations from water damage and improve attic ventilation.
- 2. What materials are best for eaves?
- Aluminum, vinyl, fiber cement, and treated wood are the most durable.
- 3. Can eaves be repaired instead of replaced?
- Yes, minor issues like rot or cracks can be repaired, but severe damage requires replacement.
- 4. Do eaves help with energy efficiency?
- Yes. They reduce sun exposure on walls and improve airflow, lowering energy consumption.
- 5. Are roof eaves required by building codes?
- Most regions recommend them, especially in rainy climates.
Conclusion
A roof eave is essential for protecting the home from moisture, supporting ventilation, and improving both comfort and curb appeal. Whether you’re installing new eaves or maintaining existing ones, understanding the components, costs, lifespan, and benefits helps ensure long-term roof performance. Investing in high-quality eaves is one of the most strategic ways to extend the life of your roofing system.
Other Resources
Explore these trusted sources for understanding roof eaves, components, and construction details:
The Spruce – What Are Eaves? Clear explanation of roof eaves and their role in home design and drainage.
Monarch Roofing – Roof Eaves Overview Simple guide describing types of eaves and why they matter.
Wikipedia – Eaves General reference covering the definition, purpose, and variations of eaves.
Other Helpful Guides
Additional resources from Roofing-COP for deeper roofing insights:
Roofing-COP – Roofing COP Code of Practice Overview of key roofing COP standards and compliance requirements.
Roofing-COP – Standing Seam Metal Roof Full guide to standing seam metal roofing systems and benefits.
Roofing-COP – Roof Flashing Guide Explanation of roof flashing types, installation, and waterproofing benefits.