Roof Inspection: 8 Steps for a Powerful and Positive Result
Roof Inspection: 8 Critical Checks That Save Money
Roof inspection is one of the most crucial maintenance tasks for every homeowner, yet it is often overlooked until a leak or structural problem appears. Performing or scheduling a roof inspection helps you detect early signs of deterioration, prevent costly repairs, and extend the lifespan of your roofing system. Because the condition of your roofing materials changes over time, regular inspection allows you to maintain safety, energy efficiency, and property value. For people looking to protect their homes and avoid unexpected expenses, roof inspection remains the best first line of defense.
What Is a Roof Inspection?
A roof inspection is a thorough assessment performed to evaluate the condition of roofing materials, structural components, drainage systems, flashing, and ventilation. The goal is to identify issues such as broken shingles, early leaks, mold development, damaged gutters, or improper sealing.
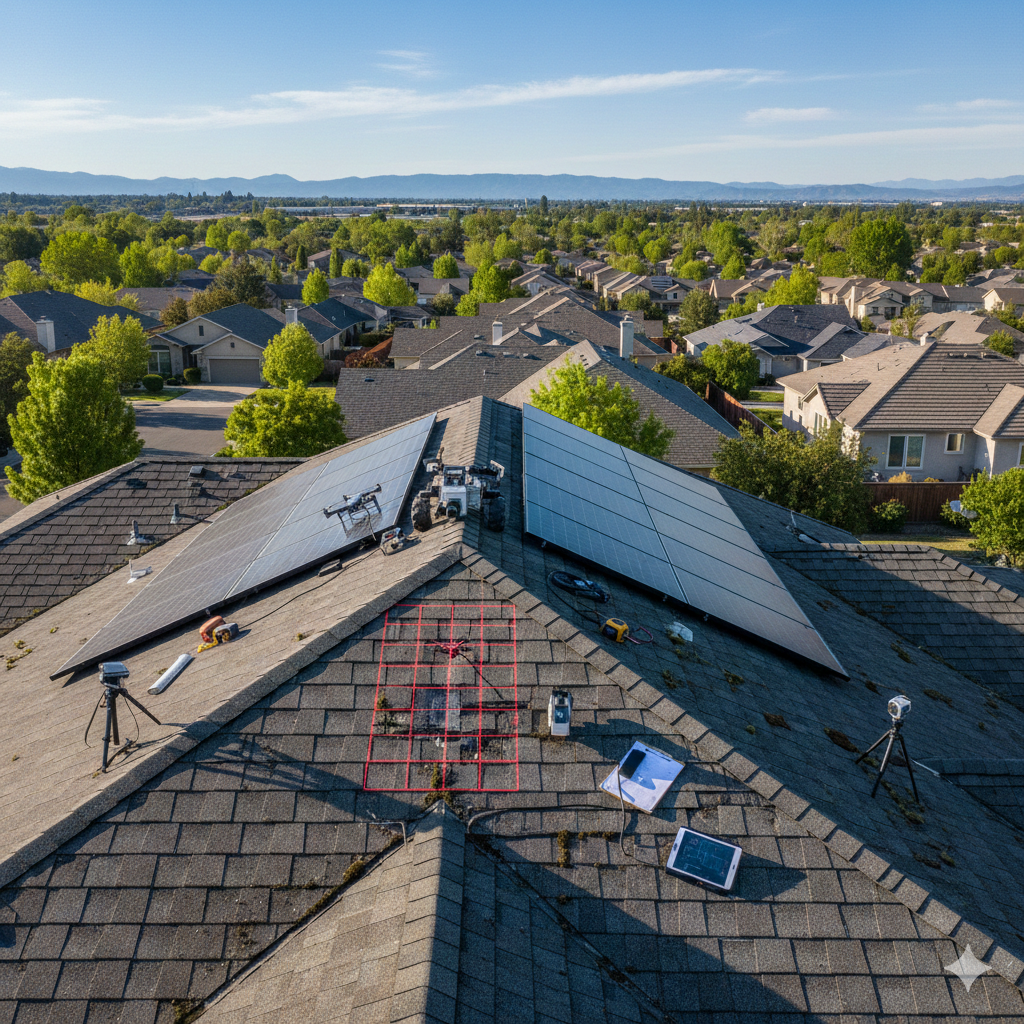
Roofing specialists use various methods, such as visual checks, infrared scanning, or drone analysis, to detect hidden damage. Whether done by a homeowner or a licensed contractor, a roof inspection ensures the entire system continues functioning correctly.
How to Do a Roof Inspection Step-by-Step
A proper inspection requires a systematic approach. Here are the essential steps professionals recommend:
1. Start With a Ground-Level Roof Inspection
Many visible warning signs appear at the ground level. Walk around your property and observe:
- Missing or curled shingles
- Dark or discolored sections
- Sagging areas
- Debris accumulation
- Detached gutters
Ground-level examination is safe and provides an initial overview of roof health.
2. Inspect Shingles and Surface Materials
After ensuring safe access, check shingles or tiles closely. Look for cracks, blistering, granule loss, and soft spots. These issues are early indicators of aging or water infiltration.
3. Examine Flashing and Sealants
Flashing around chimneys, vents, and skylights prevents water from entering the structure. If flashing is loose or rusted, repairs must be completed immediately.
4. Check the Gutters and Downspouts
A complete inspection includes checking drainage systems. Clogged or damaged gutters can cause water to back up under shingles and create leaks.
5. Inspect the Attic
Moisture in the attic is often a silent signal of roofing problems. Check insulation, look for water stains, and confirm the ventilation system works properly.
6. Assess Structural Components
Look for sagging rafters, mold growth, or rot. Structural damage should never be ignored, as it compromises safety.
7. Document Everything
Take photos and note every issue you find. Proper documentation helps you track deterioration over time and ensures transparency if contractors are involved.
How Much Does a Roof Inspection Cost?
The cost varies depending on your location, the size of your home, and the method used. Here are typical price ranges:
- Basic visual inspection: $75–$200
- Drone inspection: $150–$350
- Infrared/moisture scan: $300–$600
Some roofing companies offer free inspections if you hire them for repairs or maintenance afterward.
How Long Does a Roof Inspection Take?
A complete inspection generally takes 45 minutes to 2 hours. Larger homes or advanced scan methods may require additional time.
How to Install or Repair Issues Found in a Roof Inspection
A inspection often reveals problems that require repairs such as sealing flashing, replacing damaged shingles, securing gutters, or improving ventilation. Although experienced homeowners can handle minor tasks, complex repairs involving structural damage or steep roofs require licensed contractors.
For installation or replacement of large roof sections, always follow manufacturer guidelines to ensure warranty protection and long-term durability.

🌟 Advantages of Roof Inspection
Roof inspection offers numerous benefits that directly impact the longevity of your home:
- 1. Early Problem Detection
- Identifying small issues such as cracked shingles prevents major leaks.
- 2. Cost Savings
- Fixing minor problems costs much less than repairing large-scale water damage.
- 3. Extended Roof Lifespan
- Regular inspection keeps your system functioning properly for many years.
- 4. Safety and Peace of Mind
- A strong, well-maintained roof protects your family and your property.
- 5. Energy Efficiency
- Ensuring insulation and ventilation work correctly reduces energy bills.
⚠️ Challenges Connected to Roof Inspection
Despite its advantages, there are a few challenges homeowners should consider:
- 1. Hard-to-Reach Areas
- Some roof designs make access difficult, increasing safety risks.
- 2. Weather Limitations
- Rain, wind, or snow can delay inspection schedules.
- 3. Inaccurate DIY Evaluation
- Homeowners without experience may overlook important details.
- 4. Unexpected Repair Costs
- Inspection may reveal necessary repairs you didn’t expect.
❓ FAQ About Roof Inspection
1. How often should I schedule a roof inspection?
Most experts recommend twice a year once in spring and once in fall.
2. Can I perform a roof inspection myself?
Yes, but a licensed professional detects issues the untrained eye may miss.
3. What signs indicate I need an urgent inspection?
Leaks, water stains, missing shingles, sagging sections, or mold.
4. Do insurance companies require roof inspection?
Many insurers require an inspection for claims or new policies.
5. Does a roof inspection include attic evaluation?
Yes. Attic inspection is a critical part of detecting hidden damage.
6. Can a drone be used for inspection?
Absolutely. Drone inspections are safe and accurate for hard-to-reach roofs.
A consistent roof inspection schedule is one of the most effective ways to preserve the strength, safety, and value of your home. Whether you choose to evaluate your roofing system yourself or hire a licensed professional, the process helps you identify small issues before they evolve into costly repairs. By checking shingles, flashing, gutters, and attic conditions, you make sure your home remains well-protected throughout the seasons.
🏠 Other Resources
🔎 Other Helpful Articles
-
Storm Damage Roof Repair – What to do after major storm damage.
-
Cape Coral Roofing – Roofing insights for homeowners in Cape Coral, FL.
-
Pergola With Roof – Guide to choosing and installing covered pergolas.